
Arduino Project Solar Tracker Complete Kit
In today’s world of rising energy costs and eco-conscious living, solar energy has become a game-changer. But did you know you can make your solar panels up to 40% more efficient with a DIY Arduino Solar Tracker? If you’re a tech enthusiast, engineering student, or hobbyist, this guide is for you!Arduino Project
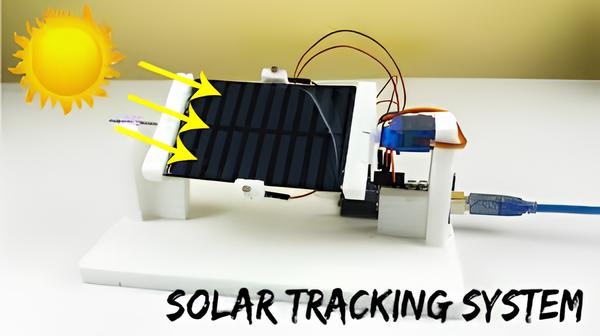
🔍 What is an Arduino Project Solar Tracker?
An Arduino Solar Tracker is a smart device that automatically moves a solar panel toward the brightest source of sunlight throughout the day. Using simple electronic components like LDRs (Light Dependent Resistors) and servo motors, you can build this intelligent system at home.Arduino Project .
Unlike fixed solar panels, a solar tracker maximizes sun exposure, resulting in increased power output and better energy utilization.
🧰 Components You’ll Need
To bring this project to life, gather the following materials:
Arduino UNO (or compatible board)
4x LDR sensors
2x Servo motors (SG90 or MG995)
Resistors (10k ohm)
Breadboard or PCB
Jumper wires
Solar panel
Mounting structure (pan-tilt mechanism)
This project is budget-friendly and perfect for school or college exhibitions, green energy initiatives, or DIY innovation.
⚙️ How It Works
Here’s a simple breakdown:
LDR sensors detect light intensity from different angles.
The Arduino processes this data and calculates the direction of the strongest sunlight.
Servo motors rotate the solar panel both horizontally and vertically.
The panel keeps adjusting itself to face the sun directly—all day long!
This continuous alignment increases the amount of solar power harvested significantly.,Arduino Project
📈 Why You Should Build One
Still wondering why this project rocks? Here are some key benefits:
✅ Boosts solar panel efficiency
✅ Affordable and beginner-friendly
✅ Great for STEM projects and school competitions
✅ Teaches real-world electronics and coding
✅ Encourages eco-friendly innovation
Whether you’re just getting started with Arduino or already building smart tech, this project makes learning fun and impactful.
🧠 Pro Tips for Success Arduino Project
Use plastic straws or partitions around LDRs for better directional accuracy.
Mount your system on a sturdy base to avoid wobbling.
Test it indoors with a flashlight before deploying it under real sunlight.
Don’t forget to tweak the servo movement thresholds in your code for smoother motion.
💡 Project Ideas & Extensions
Want to take it to the next level?
Add an OLED display for real-time light readings.
Use a real-time clock (RTC) module to combine solar and time-based tracking.
Connect your system to IoT platforms like Blynk or ThingSpeak for remote monitoring.
The possibilities are endless when creativity meets code!
🚀 Final Thoughts
Crafting your own Arduino Solar Tracker is more than just a cool project—it’s a step toward sustainable innovation. Plus, it gives you hands-on experience with embedded systems, sensors, and smart automation.Arduino Project
So what are you waiting for? ☀️ Start tracking the sun and powering up with precision!
🔗 Ready to Get Started?
Want a full step-by-step guide, schematic, and source code?
👉 Visit RoboxCraft.com – Your DIY robotics and electronics hub.
Get project kits, tutorials, and expert support all in one place!
Buy This Arduino project Solar Tracking Now…
Click Here